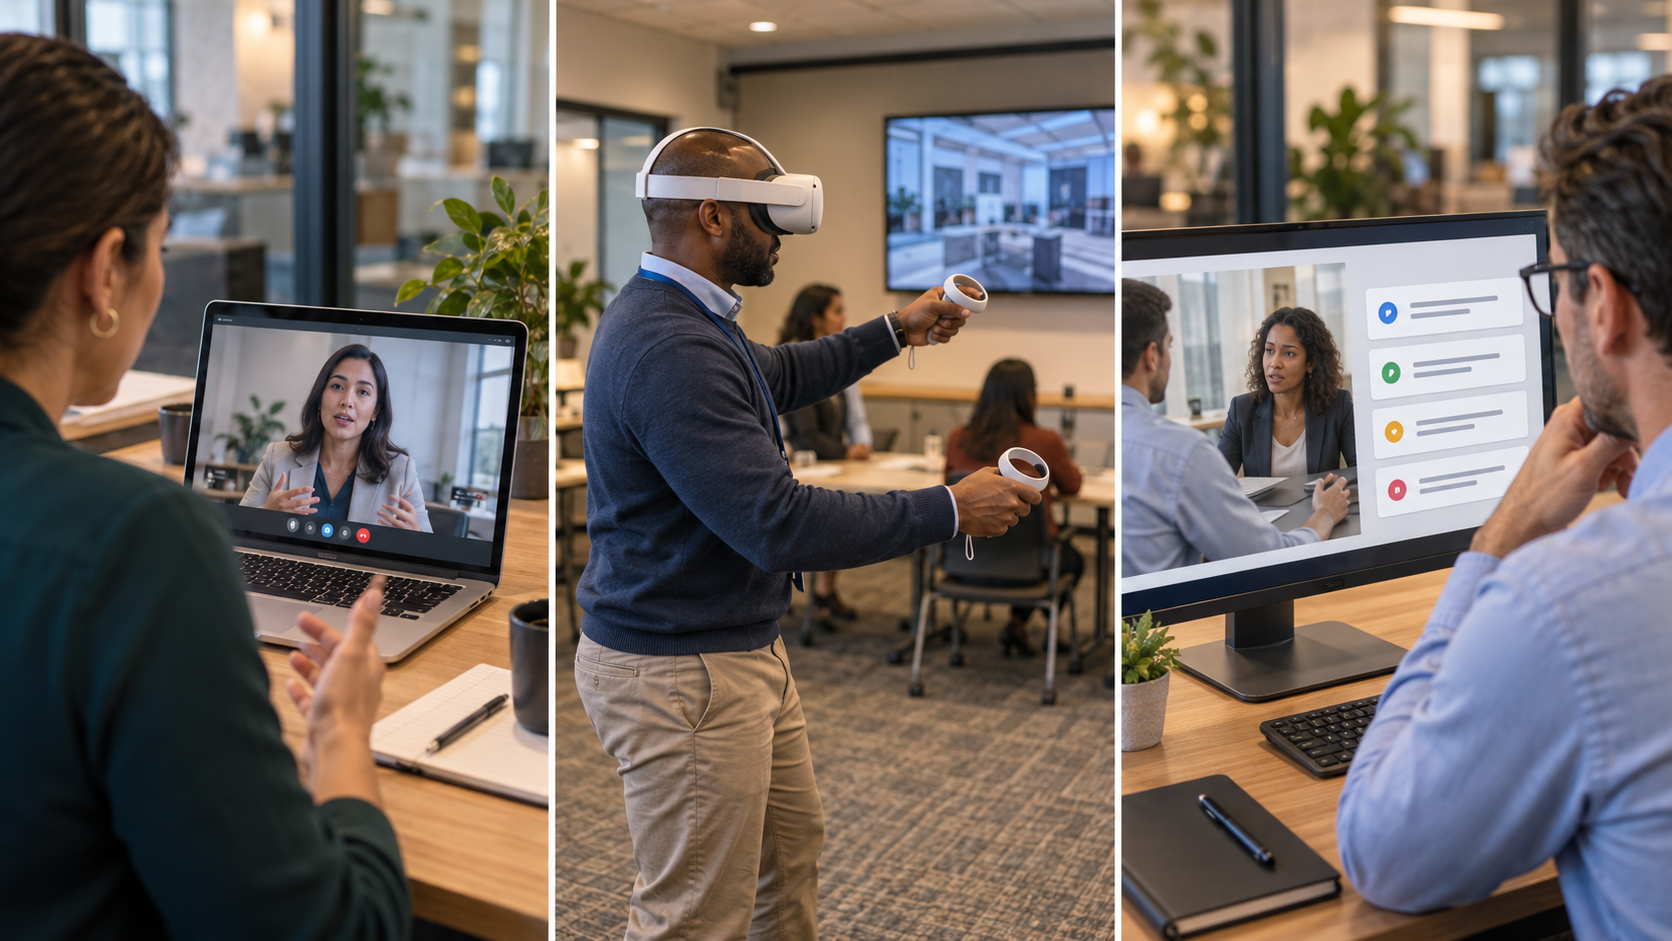

As an instructional designer, you are the ‘artist’ for the client’s course.
Whether you are creating a storyboard for a soft skills course or software application, it is important to 1) create a document for the course that easily tells a story with text and imagery. And 2) create a document that all project team members can work from. This includes voice talents, graphic designers, and developers.
You also want to create a document in a tool that allows Track Changes, such as MS Word.
I have various templates I have created over the years using tables within MS Word.
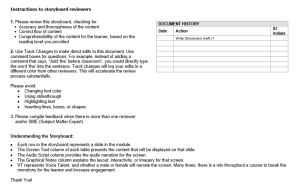
On page one, I ensure a log is maintained that gives clear instructions to reviewers, as well as a log of who edited the document last. A sample is shown below.
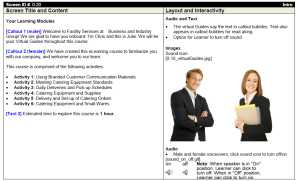
Next, let’s review what should be included in the main table of the storyboard. The key is to create a table for EACH slide within the course. In my storyboards, I include the following items:
- Topic/subtopic headers matching the detailed outline from the Design Document.
- On-screen text for each slide.
- Brief description: includes the purpose of each slide.
- Audio narration text for each slide.
- Graphic image or descriptions depending on the storyboard layout/template.
- Programmer instructions for interactions and activities, graphic descriptions, and/or animation cues.
- Assessment descriptions, questions, feedback, and answers.
Here is a sample of what that would look like in a couple of different table layout formats in Word using tables.
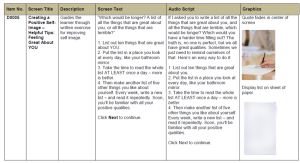
Once the client has included all of their track changes and you have provided the ‘agreed’ number of revisions to finalize the document, this document can be sent to voice talents, graphic designers, and developers to begin work!
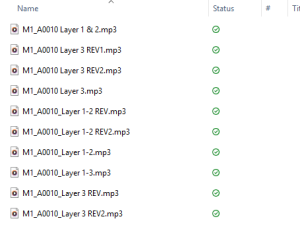
Each team member can use the storyboard slide-ID number for each slide, for example, the A0005 displayed below, as the filename for their audio and image files, which makes it super easy for the developer to implement into each slide.
You can see how this works in the below example of files uploaded to our shared drive by a voice talents. The M# is the module number, and the ID# from the storyboard is the A0010. If needed, you can have interactive layers labeled as one item or separately as A, B, C, etc.
When revisions are made, we ask voice talents to add a REV # to the end of the filename and leave the original file as is.
Hopefully, this was helpful for my instructional designer colleagues!
A storyboard works best when everyone can find what they need without guessing. Clear slide IDs, production instructions, and a simple revision process help the team move from an approved design to a finished course. Before you hand yours off, check whether a voice talent, graphic designer, or developer could use it without requiring you to explain every slide.